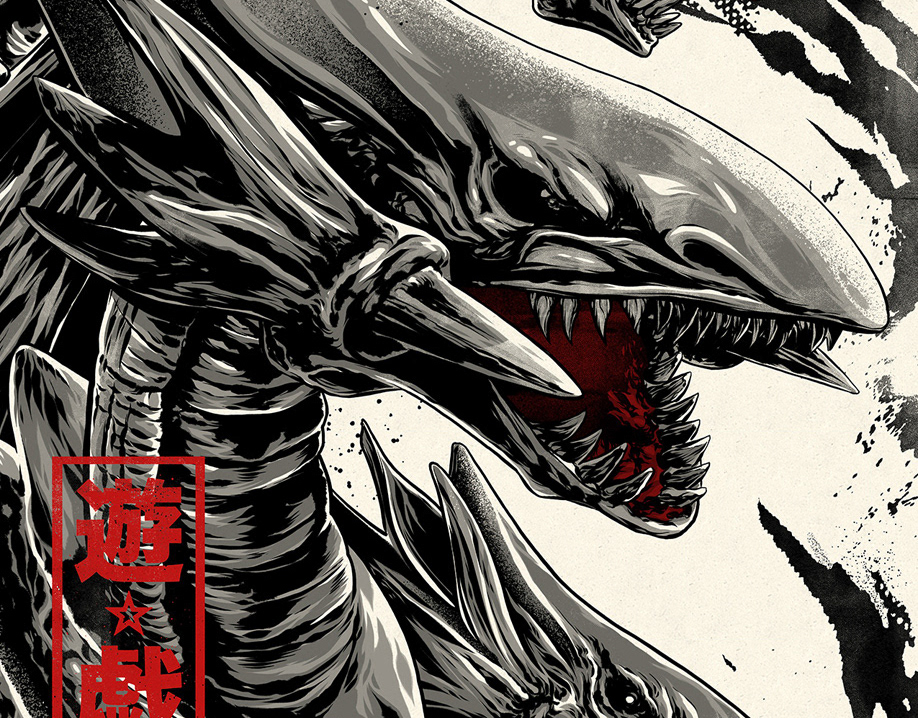
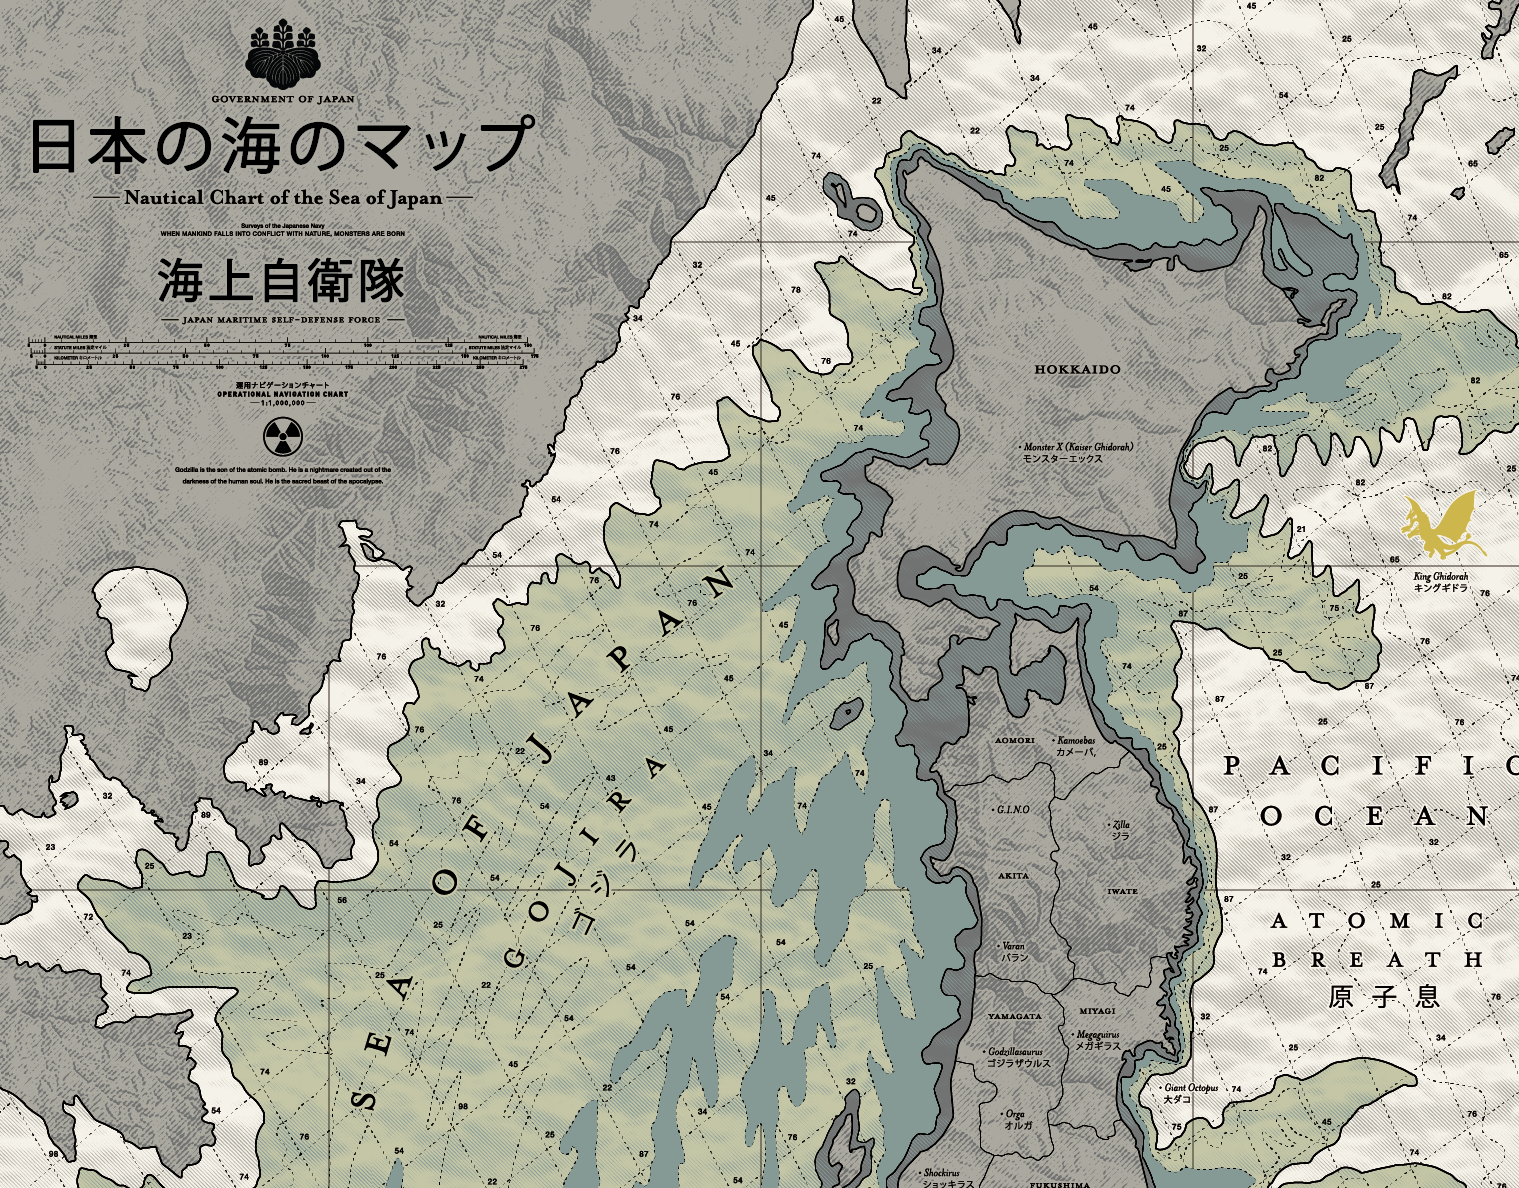
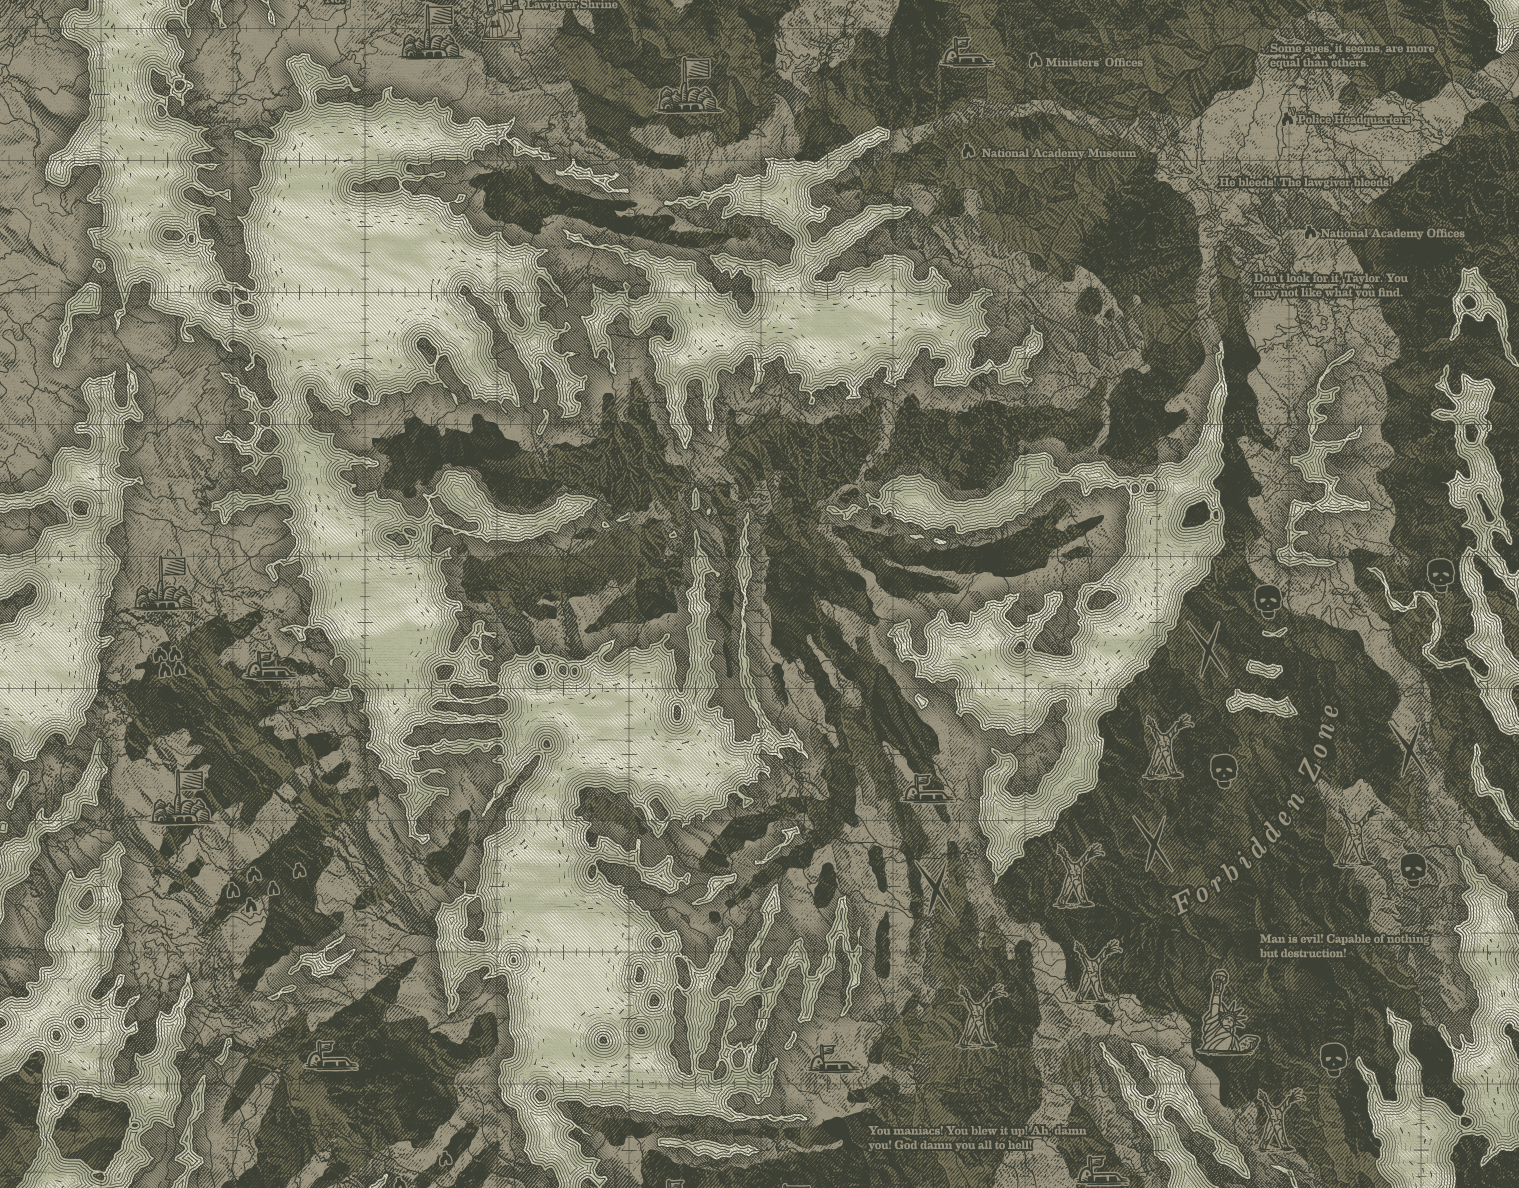
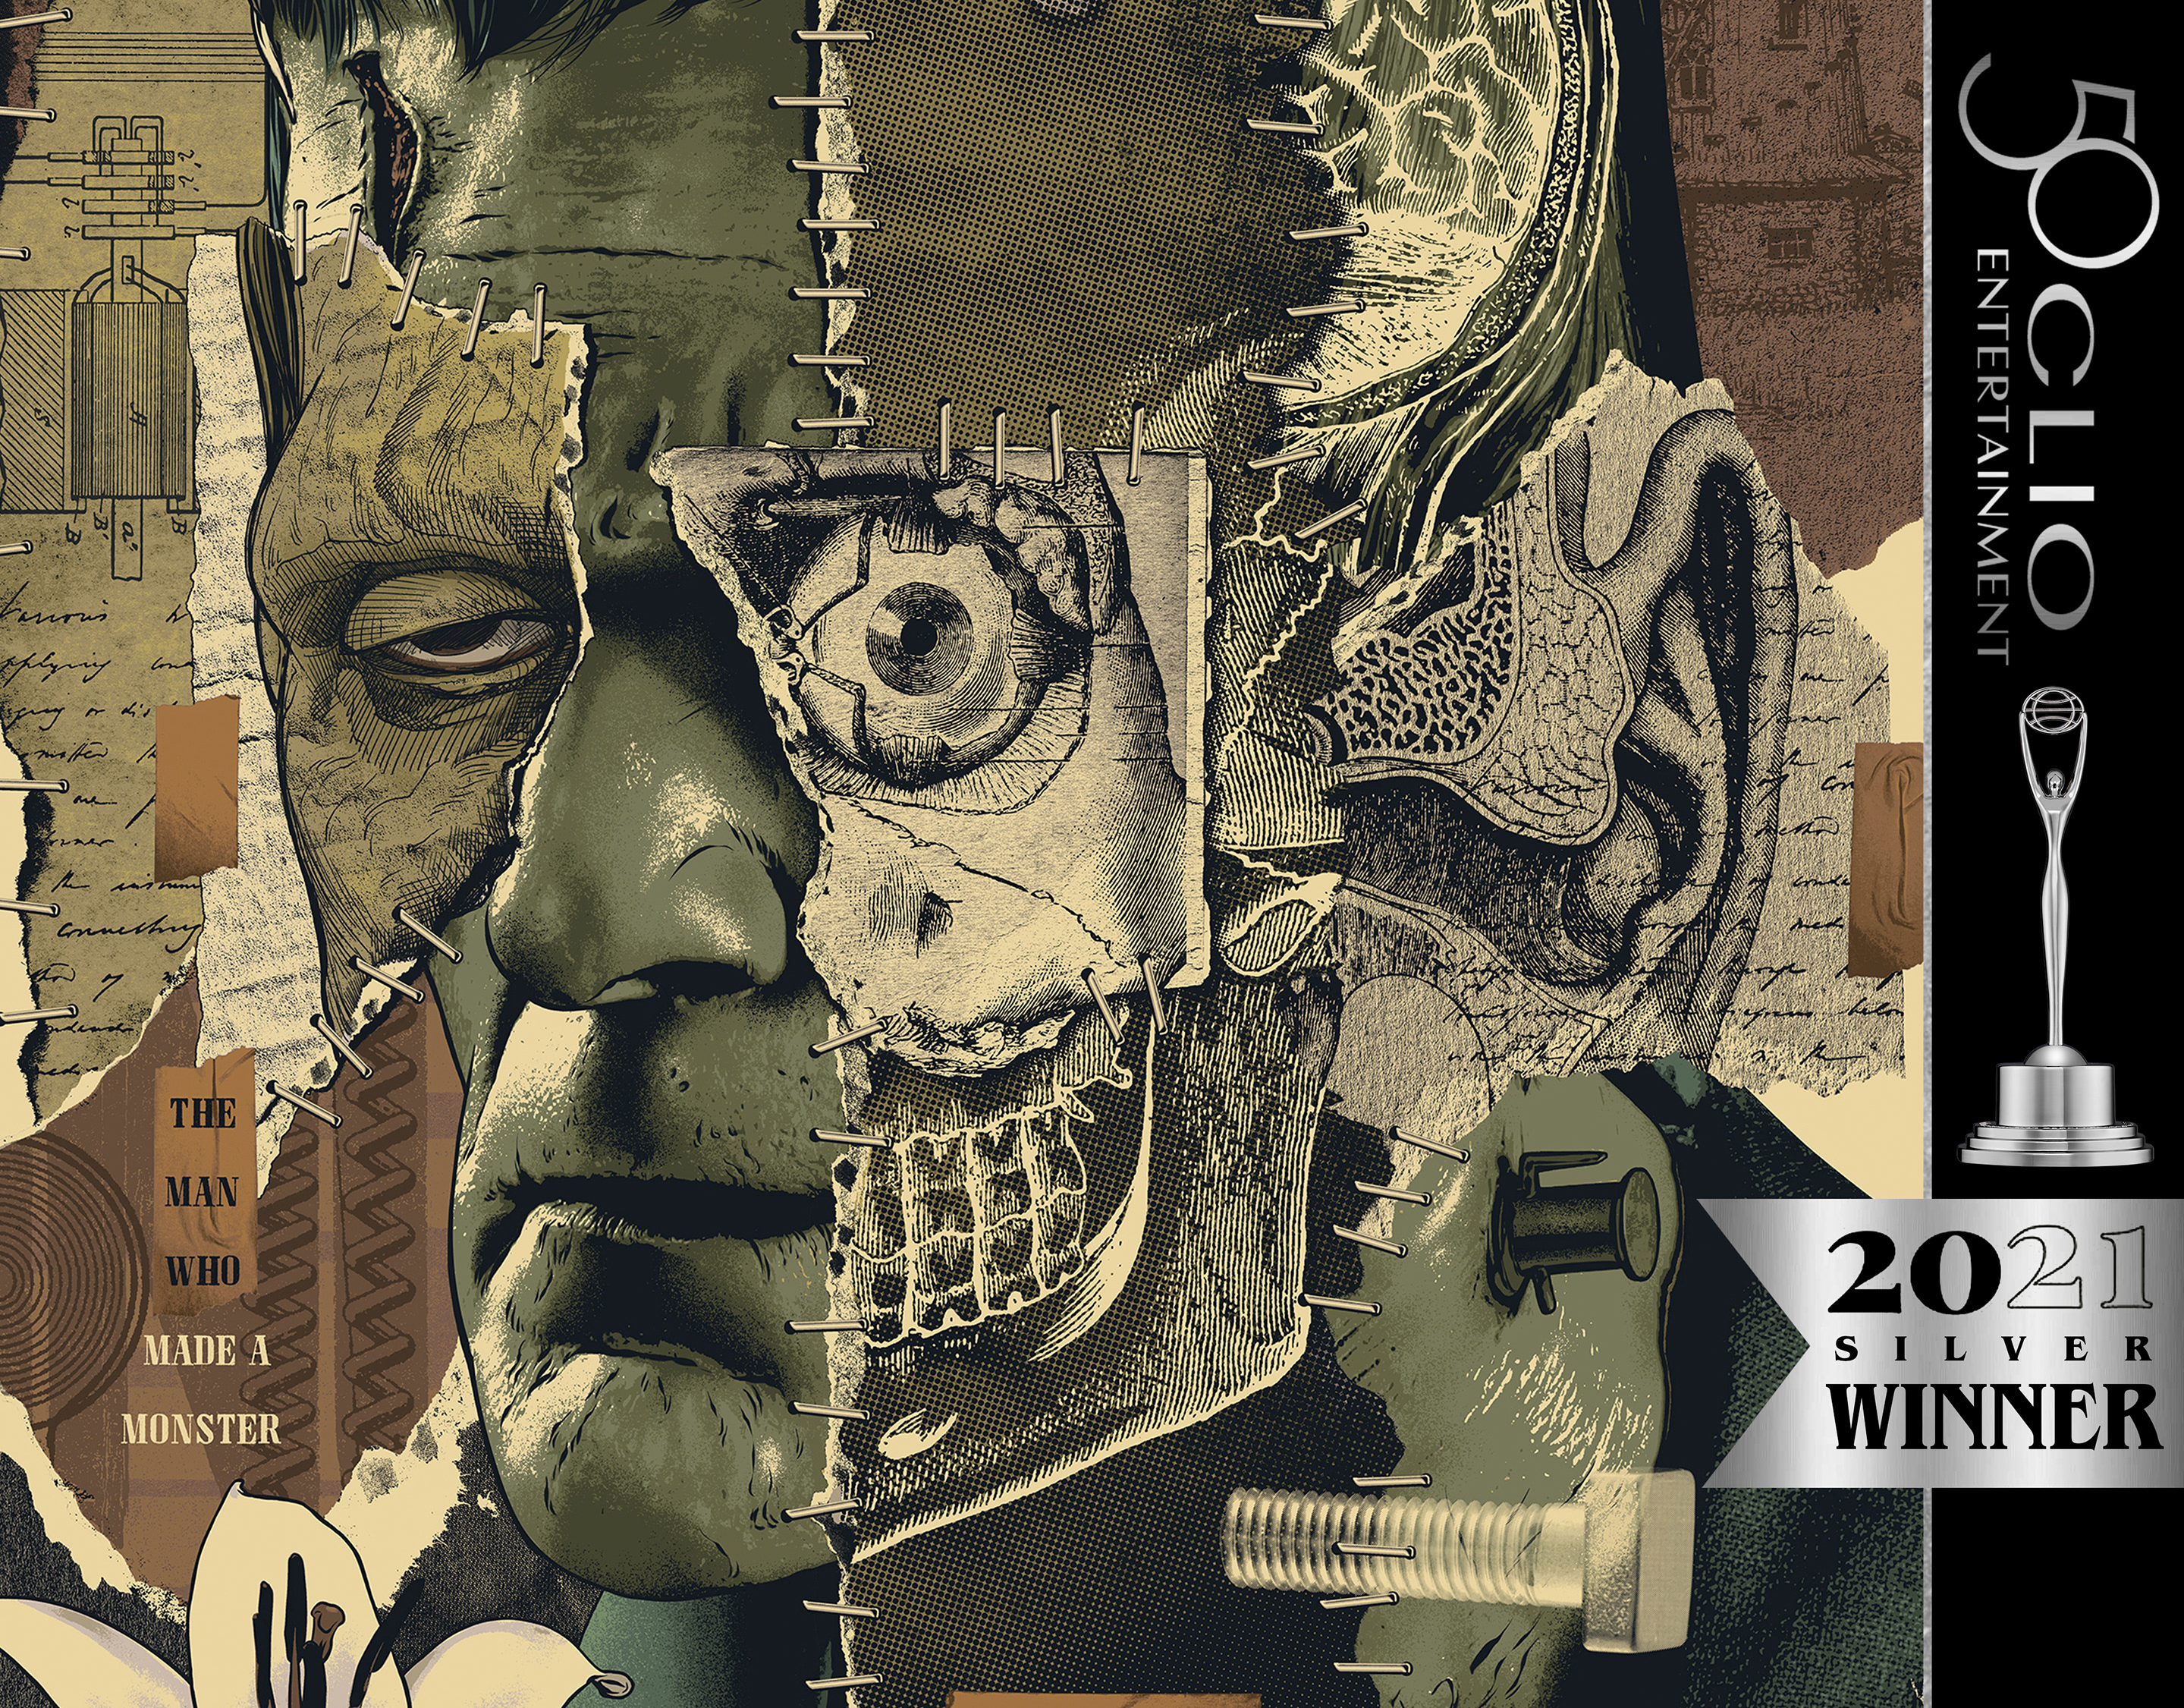
"Still Life at Mushnik's"
22" x 30" watercolor and ink
on Arches Aquarelle Rough paper
Inspired by Little Shop of Horrors
for Gallery 1988's Crazy 4 Cult show, December 12th in LA
22" x 30" watercolor and ink
on Arches Aquarelle Rough paper
Inspired by Little Shop of Horrors
for Gallery 1988's Crazy 4 Cult show, December 12th in LA
PROCESS
Going to try to take you through a little #process journey for this next #painting. This will be 18" x 24" in #watercolor and #ink blocked out on 22" x 30" #Arches Aquarelle Rough watercolor paper. First I lay down some rough pencils. I keep the pencils pretty dark because I'll end up with multiple layers of paint covering them. I'll usually use HB and H lead for this. #sketch #art#illustration #pencil
After I block in the background with a simple neutral gradient wash, I'll go in and start laying down a base wash color. This is a cruddy photo, so it's difficult to see, but I'll also start to do some color blends, keeping it loose and letting the water kind of do the work.
This is roughly the third layer of watercolor on this. The first was a wash with simple blends and the second added in some shading and more complex blends. Now I'm starting to add in more detail with finer brushes, shapes start forming, colors become more saturated. I don't go too crazy with the detail in paint, keeping in mind that I'm going to do a more comic-inspired inking over the top in the end (which you can see I've already started doing in the top right corner of the mouth.)
Paint has dried, so now to begin adding ink details. I'm using a Pentel Pocket Brush Pen for the thicker lines and a .01/.02/.03 Micron pen. After it has been inked, I will go in with colored pencils and begin pulling out some of midtones and reinforcing the color blends to really saturate some parts. I'll also use a white colored pencil to call out some highlights.
FOR THE FINISHED PIECE:
It's much bigger than I usually work by hand and I do not have a flatbed scanner. In order to get a high res image of it, I basically set up a mock copy-stand. I took close-up photos with my DSLR on a tripod (to maintain the texture on the paper) and used some Photoshop magic to piece all the photos together.


